To start creating a new project users should navigate to PROJECTS in the side bar menu and then click on NEW PROJECT button.
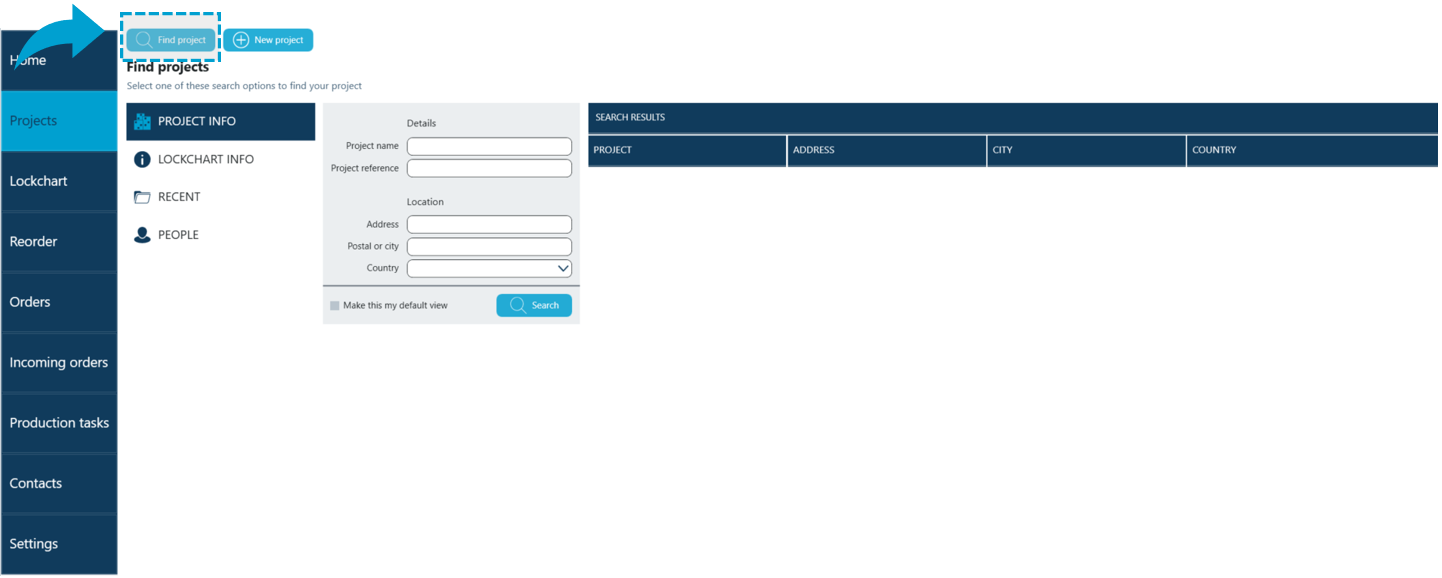
New application tab is opened with a wizard leading users through Project setup steps.
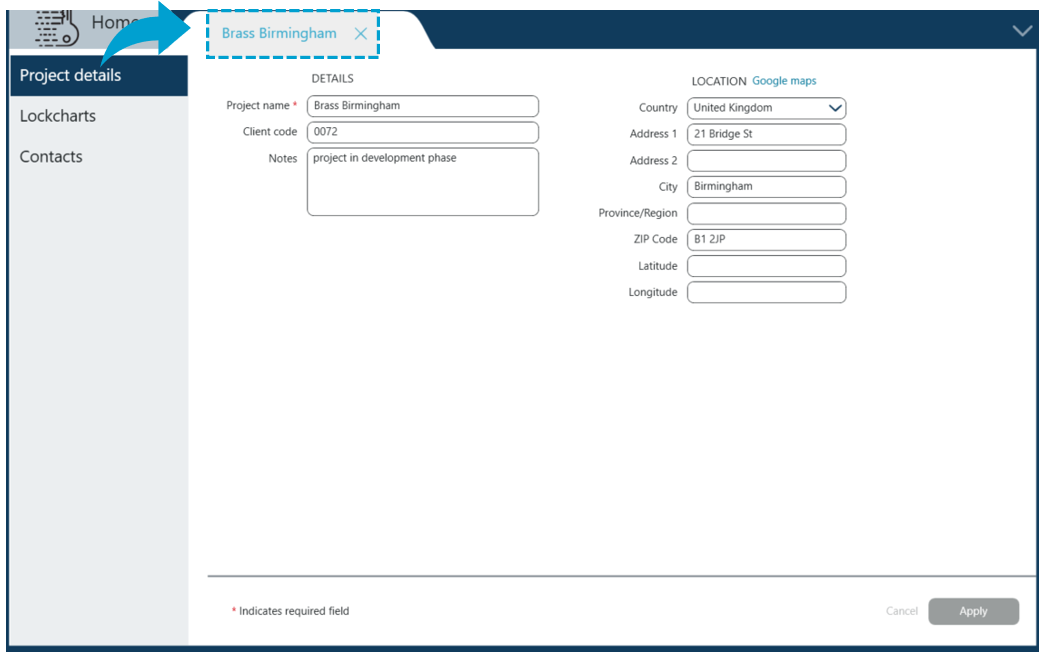
Project details
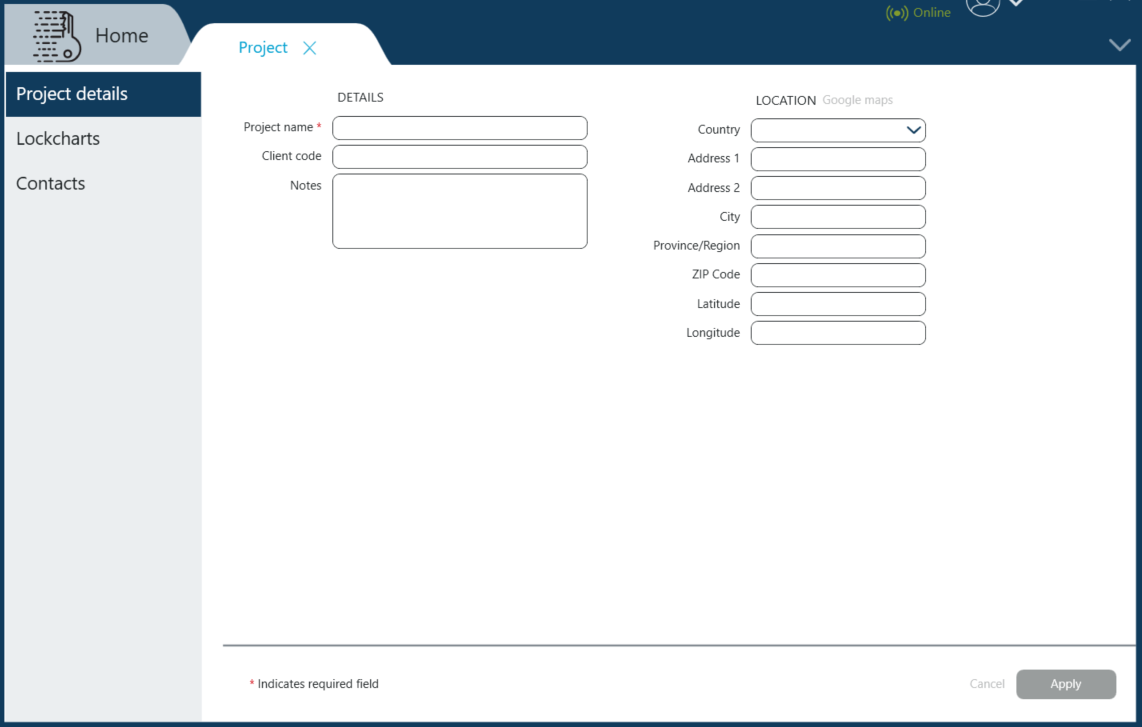
Users are asked to populate data in available fields.
The only mandatory field is the Project name, however it is recommended to store as much information as possible, for future ease of identifying a project and allow easy cooperation with other team members.
Once project details have been filled in with LOCATION data Google maps link becomes active.
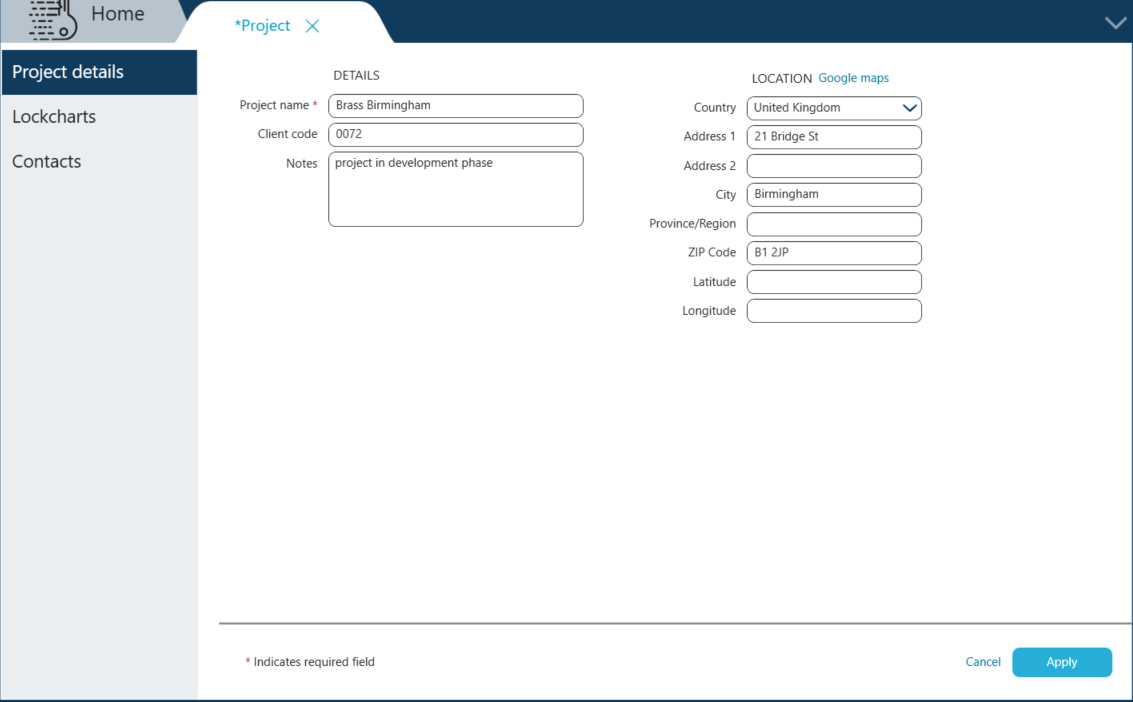
It enables users confirmation of site's address or identifying correct Latitude and Longitude if address is not available.
Once all the details are correct click Apply.
Project name becomes visible as the tab's label visible at the top of the screen. Clicking on the X closes the tab, which also means closing of the project.
Lockcharts
When setting up a new project, users are able to associate (link) this project with existing Lockcharts. This can also be done afterwards from Projects or Lockcharts menu.
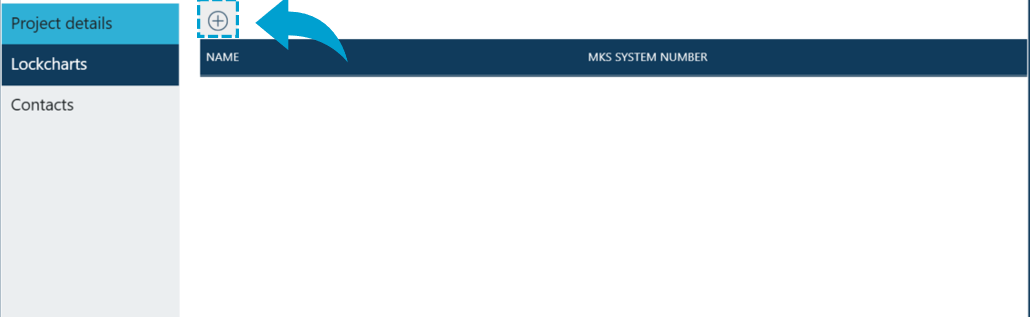
To link an existing Lockchart with a project users navigate to Lockchart in the side bar menu on the left and click Lockcharts.
Click on the Plus sign at the top.
New window pops-up with multiple search options that allow adding existing lockchart by locating it on user's computer or identifying existing lockchart within Key Studio™ application.
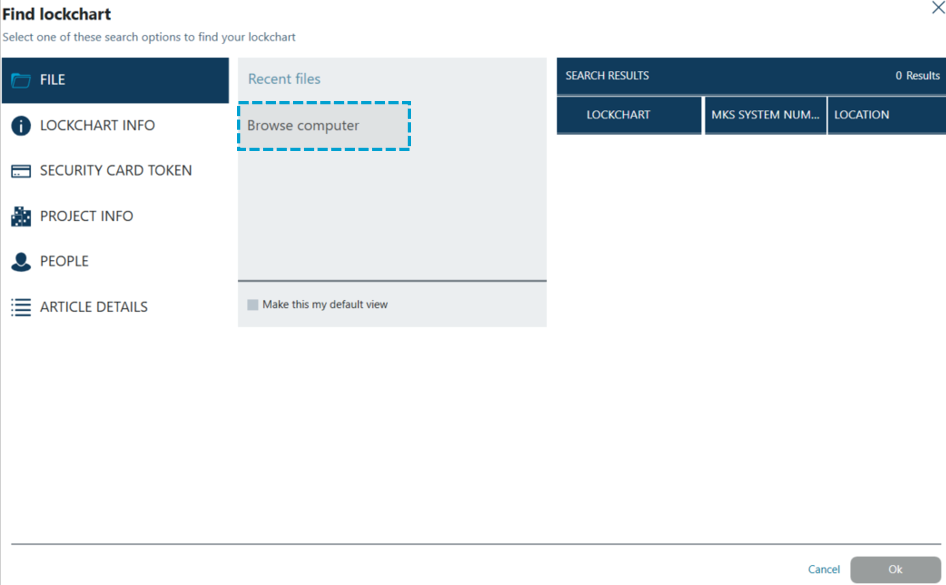
After selecting lockchart and clicking OK lockchart is visible on list of associated lockcharts.

Clicking on Unlink button allows users to disassociate selected lockchart with the project.

After clicking on it confirmation message appears to make sure this lockchart should be removed from the project.
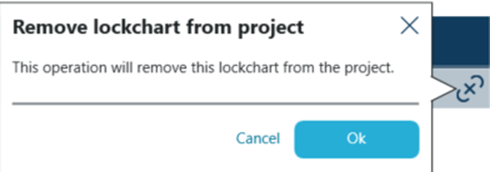
After clicking OK lockchart is removed from project's lockchart list.
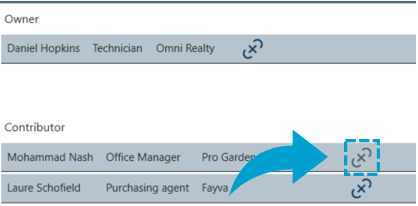
Contacts
In the Contacts panel users are able to associate contacts from their contact list with the project.
There are two roles that contacts can have - OWNERS and CONTRIBUTORS.
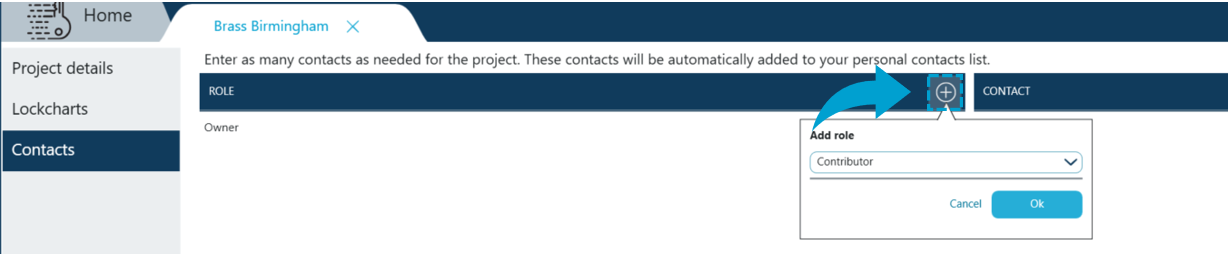
To add a contact to a project users navigate to Contacts tab in the side bar.
Next click on Plus sign within the Role pane to choose whether contact will be assigned Owner or Contributor role from the drop-down menu.
Once the role is available in the list, users add a contact by clicking on Add contact.

New window pops-up with the list of all available contacts. Users can look up a certain contact using search functionality or scroll through the list until the right person has been found.
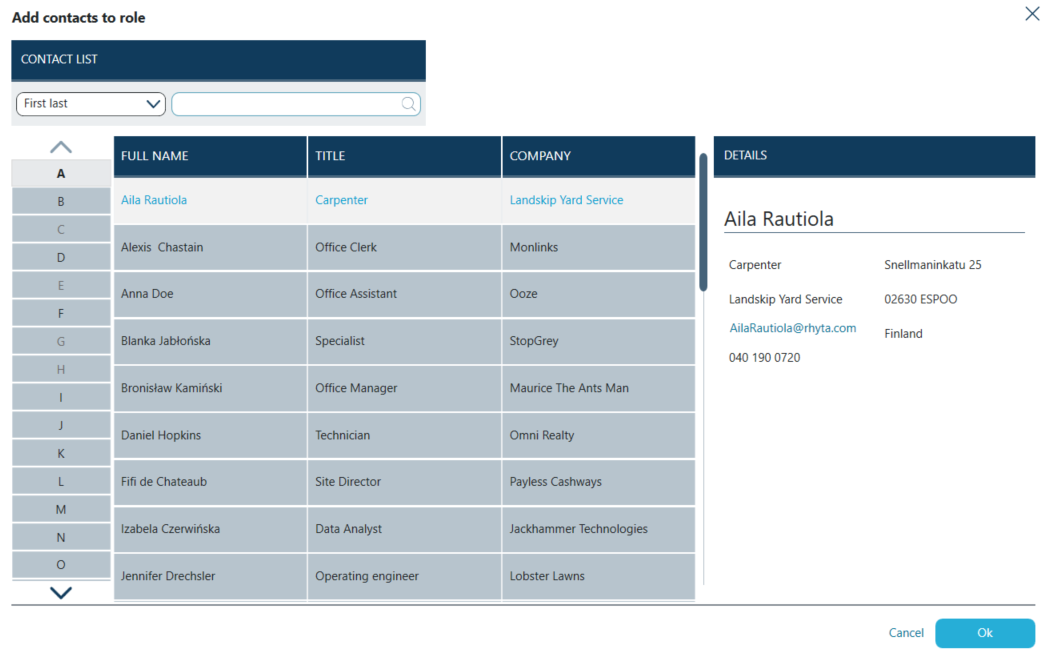
Once the right person has been identified - click OK.
Contact's name, title and Company name are then displayed on the contacts list for the project.
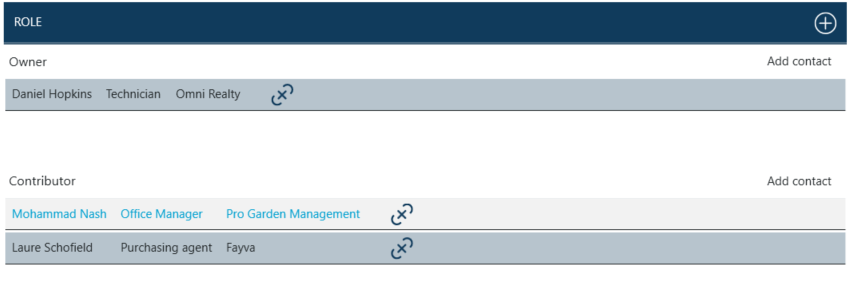
In similar fashion all the other contacts can be added to the project, until the list is complete.
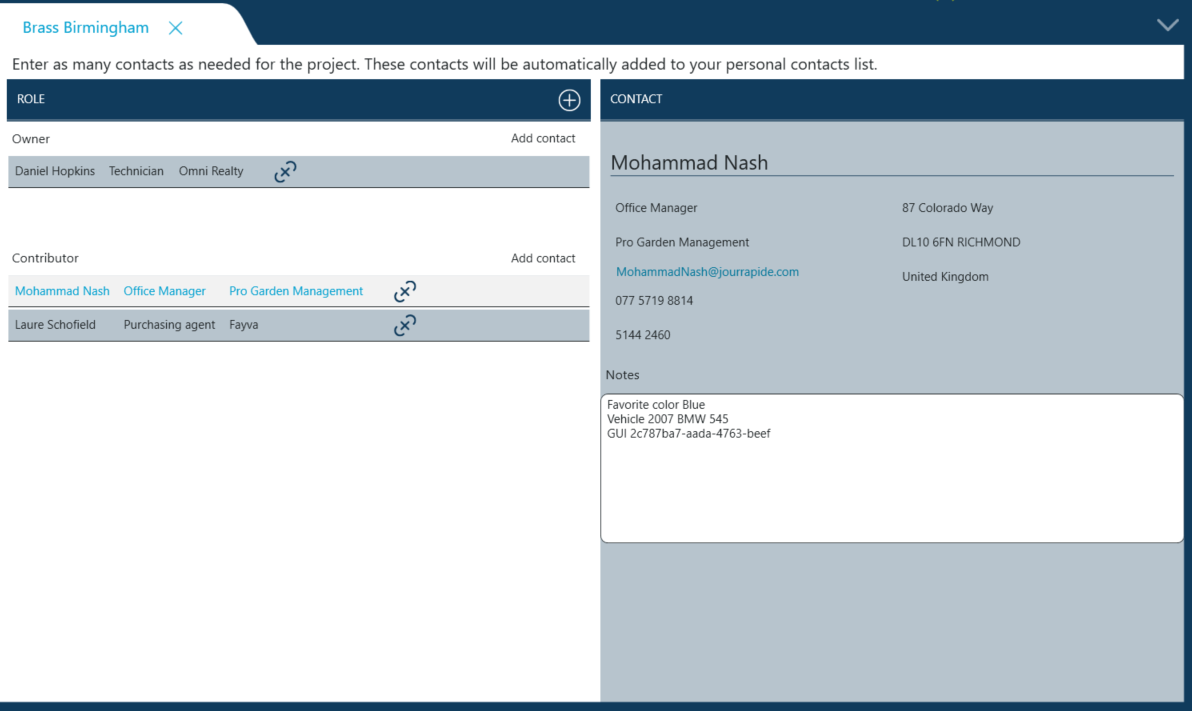
By clicking on contact's name bar details are displayed on the right-hand side. Details may include email address, telephone numbers, address, or additional notes taken for that contact.
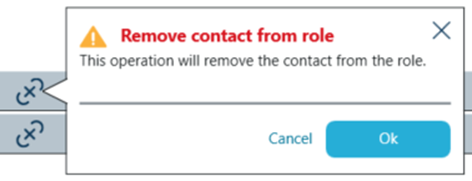
In order to remove a contact from a project Unlink button should be used.
After clicking on it confirmation message appears to make sure this contact should be removed from the project.